Let’s break down the photographic process into 3 different parts, conception/visualisation, shooting and processing.
I’m going to try to put these tips out in groups, relating to each part of the process, starting with shooting today.
Now shooting, quite simply, encompasses the actual taking of the picture. Things to consider while shooting are framing, angles, settings and techniques. For this post I want to focus on some general shooting tips, the kind of things that apply for all pictures.
1. Turn on grid lines on your camera/phone
There’s a framing method called the rule of thirds, where the picture is broken up into thirds both horizontally and vertically, into a 3x3 grid. Now generally the rule of thirds says framing objects at any of the intersections of these lines will produce a pleasing composition. But that aside, I think having a grid overlay makes it a lot easier to center your subject, it can be used to make sure lines in the image are straight and can also be used to frame things into separate thirds of the image.
2. Shoot just a little wider than you need
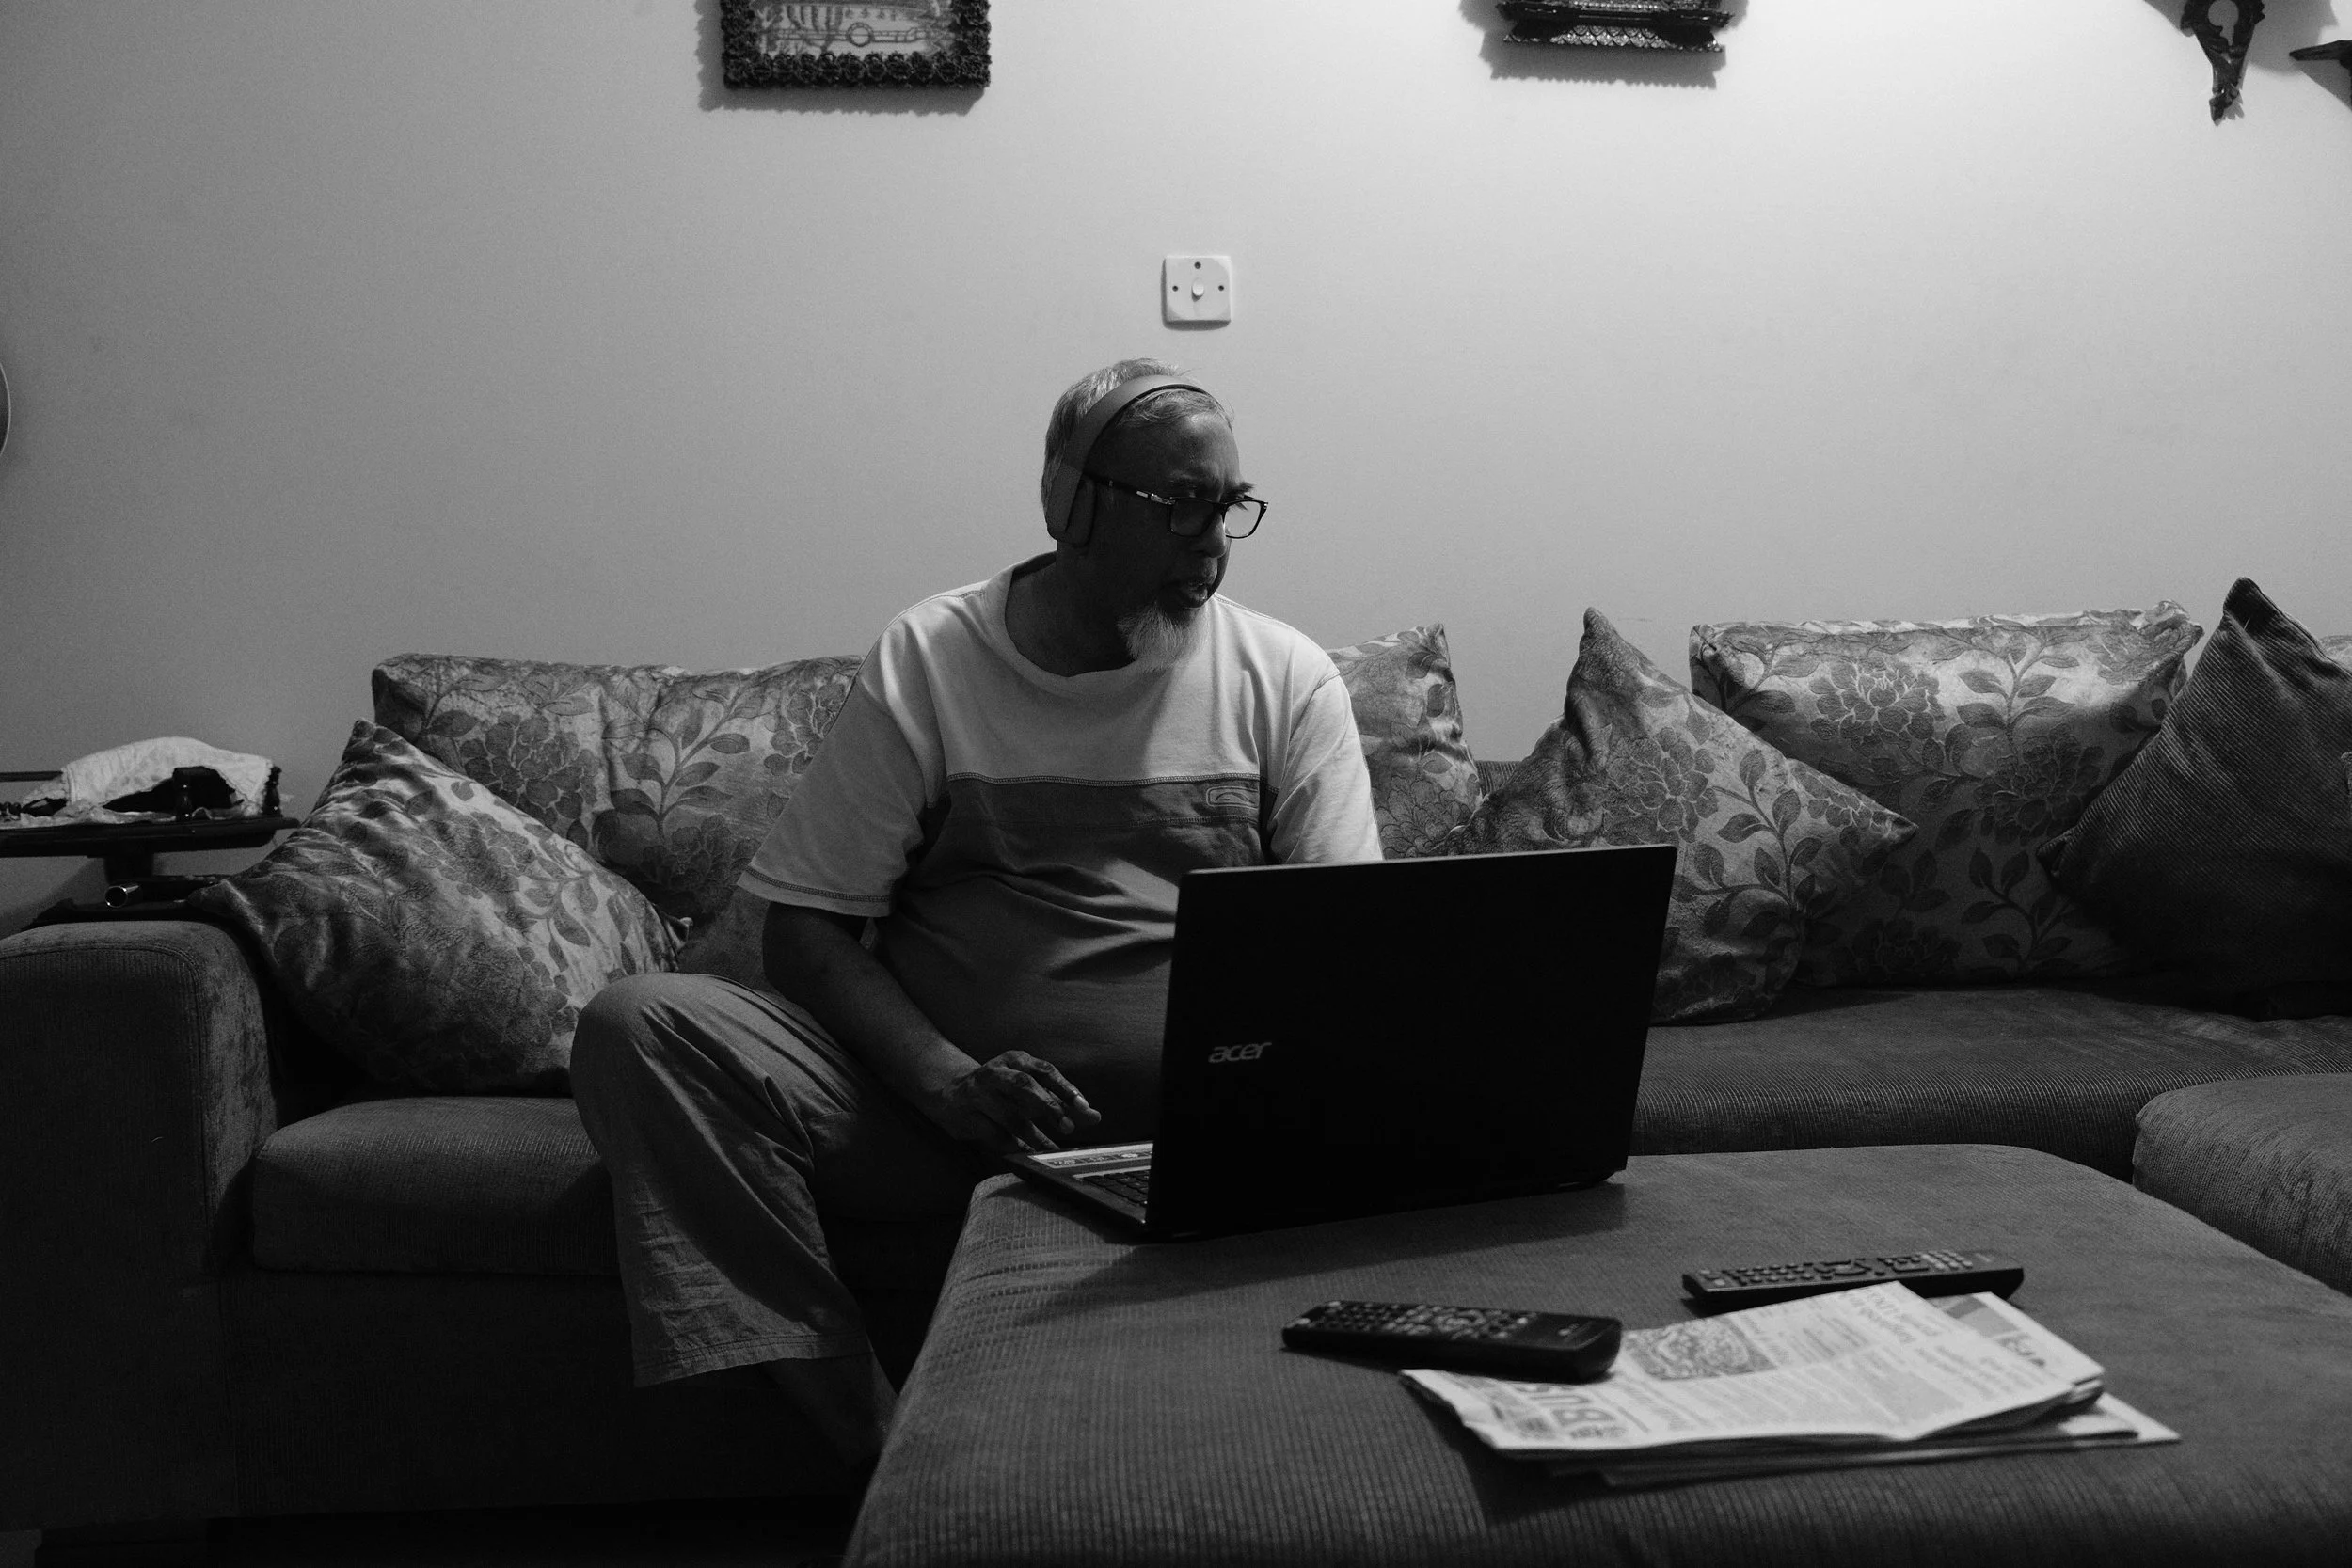
Quite often when pictures are taken of people, feet or tops of heads get cut off, most commonly in group photos. It’s best to shoot pictures just a little wider than you might think you need. The best thing to do is to make sure you have a little distance between the edges of your frame and your subject, this way you can crop in if you need to get a little closer but you won’t have any cutoff. Remember, you can always crop (especially with the high quality of modern cameras) but you can’t remake what isn’t there. Or at least if you want to shoot tight, make sure you don’t have awkward cutoffs. But also sometimes, the wider shot just looks better.
3. Fill the Frame
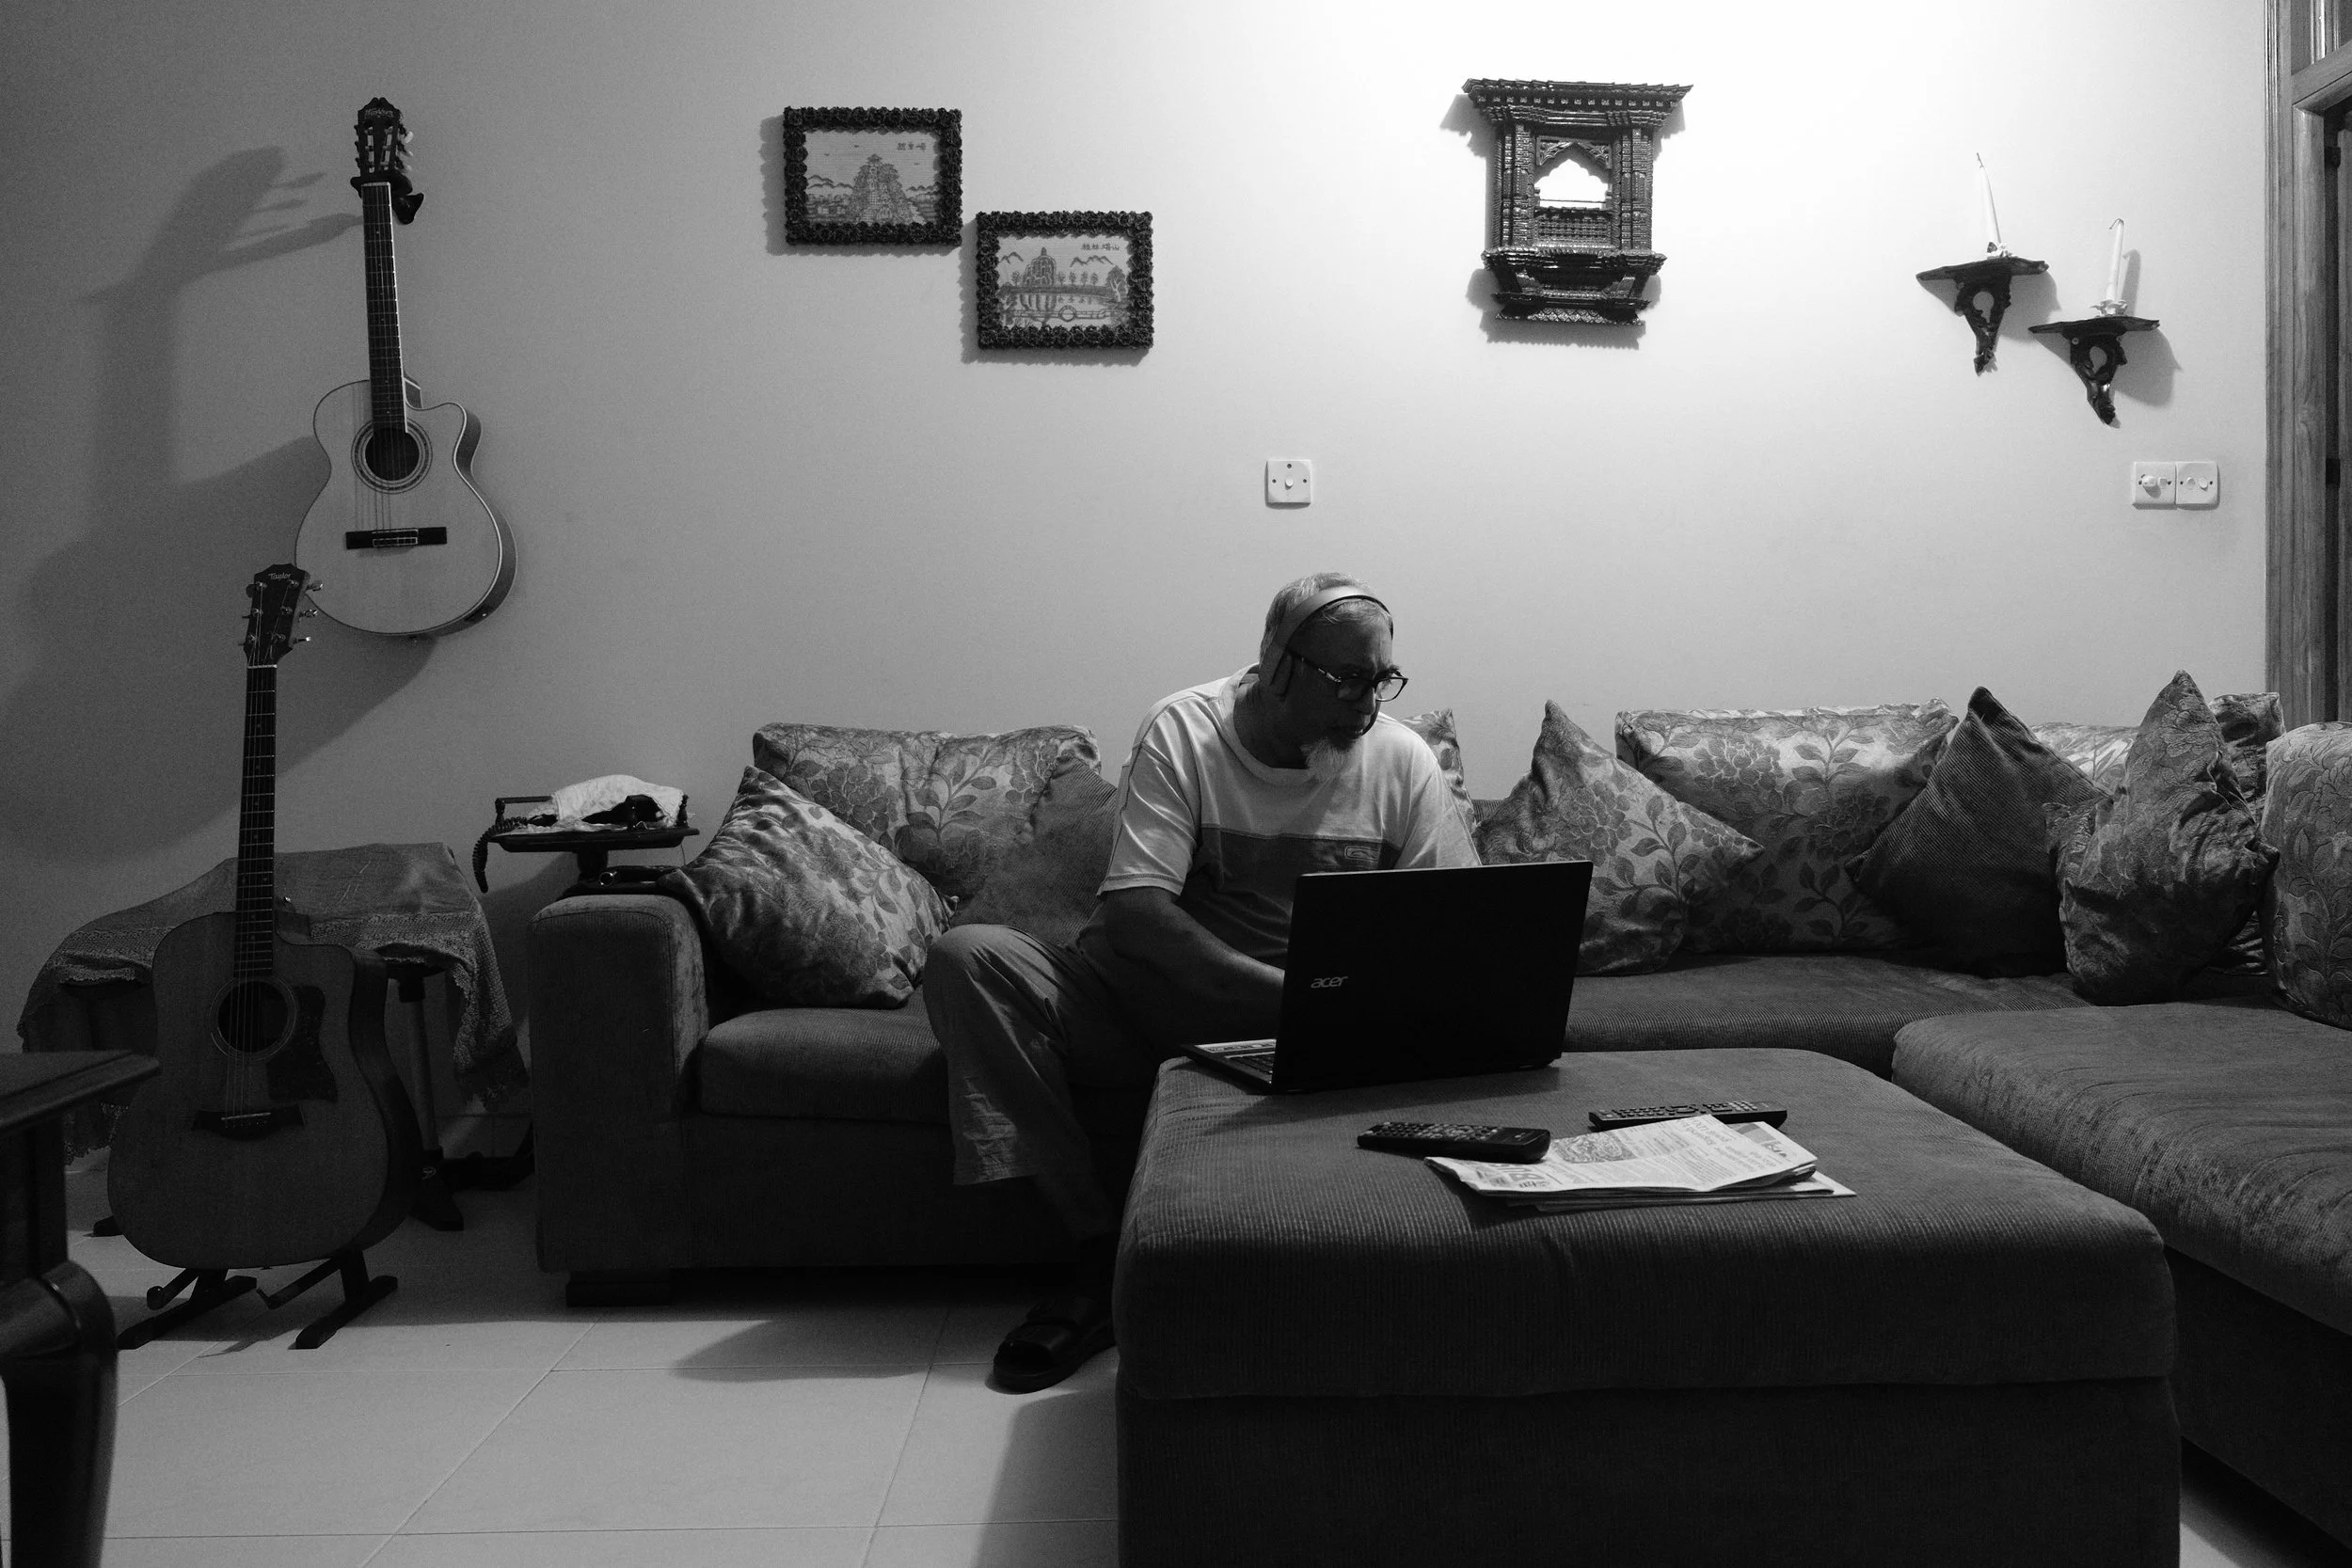
Wait hang on, didn’t I just tell you to shoot wider? Isn’t this counterintuitive? As it turns out they’re completely different things and you can do both at the same time. To me, Filling the frame simply means to make sure that you make full use of the frame and you look to all corners to make sure you’re including the right things and not littering it with distractions. Filling the frame can mean filling it with other objects or with one pattern or space to isolate the subject. Personally, I like to fill the frame with more of the scene, to let the picture show where it was taken. TL:DR make sure everything in the image has a reason or need to be in the image.
4. Chase the light
The most important ingredient to a photograph is light, look for good light, patches of sunlight, glowing neon and halogen lamps, the diffused glow of a café window, all of these are your friend, use each type of light to your advantage. I’ll put some pictures of examples of how to use different types of light.
5. Stop, Think, Capture, as many times as you need to
Don’t be afraid to really take your time in working a scene, try different angles, any idea you have, always try it. If things don’t work out, delete them, try again if you think it can. The convenience of digital systems is that you can see pictures instantly and you’re not limited to a number of pictures, take advantage of this. I’ll routinely take multiple images of the same scene until I get the one I’m happy with.
6. Always have a capable camera
“The best camera is the one you have with you”
A very common phrase among photographers and it’s so obvious and accurate. It doesn’t matter what you have at home, it only matters what you have with you when it matters. Carry your phone or camera, whatever you’re comfortable with and take it everywhere, you don’t have to use it, but you should have the option. I say you should, use your camera as much as you can. Take pictures of your friends, take pictures of your family, take pictures of moments. Aside from aesthetic beauty, photographs hold the immense power of documenting the world as we see it, I know I’m grateful for all the pictures I have, I routinely go through them and reminisce and I intend to keep them for as long as I can.
7. Use Leading Lines to draw attention
This was going to just be 6 tips but while looking for pictures to pair with the tips, I saw how many leading lines I use and thought I’d chuck this in. Leading Lines are lines in the image that divert attention to where the subject is. Use architecture, arrows, road lines, anything with a pattern to draw the viewers gaze to where you want it.
I’m thinking of doing a few more of these, some more targeted to a certain type or genre of photography. If you liked this and want to read more, please subscribe to blog notifications to your right on desktop and at the bottom of this post on mobile.


